Mastering Compost: A Beginners Guide for Successful Home Composting
Curious about how to enrich you garden soil while reducing waste? Look no further – composting is your answer! Dive into our comprehensive guide that uncovers the straightforward process of converting kitchen food scraps, and yard debris into compost. Here, you’ll gain essential tips to effortlessly start and maintain a compost pile that nurtures your garden and the environment.
Key Takeaways
- Composting transforms organic waste into nutrient-rich ‘black gold’ for gardens, and maintaining a compost pile involves balancing green (nitrogen-rich) and brown (carbon-rich) materials.
- Several composting methods are at your disposal. There’s hot composting, which accelerates the composting process. Alternatively, you can try cold composting, a process demanding less effort. Lastly, there is vermicomposting, which uses worms and is suitable for indoor environments.
- Successful compost maintenance involves various components. It involves proper aeration, moisture management, and troubleshooting problems like odors or insect infestation, while the finished compost can be used to enrich soil, retain moisture, and as a natural fertilizer or compost tea.
The Basics of Composting
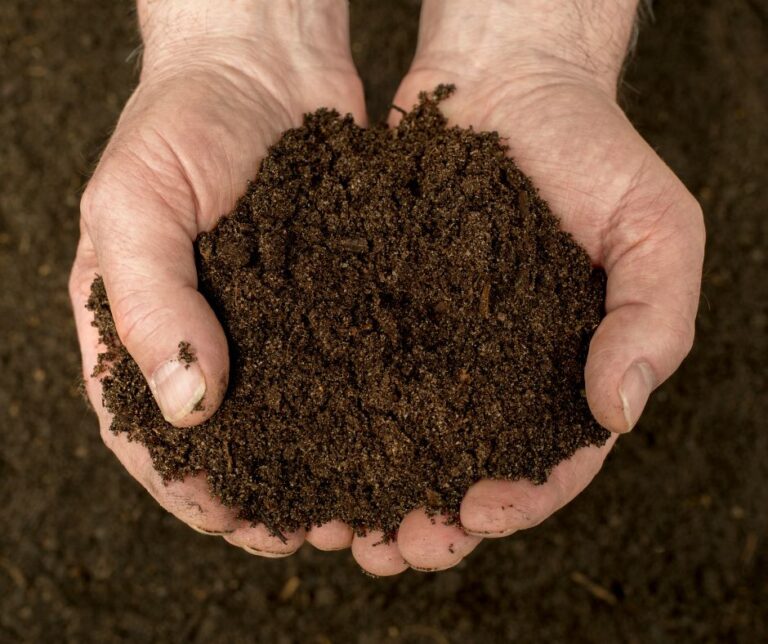
Composting, a natural process, transforms organic waste into a nutrient-packed and valuable soil amendment, enhancing the overall fertility and structure of the soil. This process essentially orchestrates a symphony of microscopic decomposers, resulting in a dark, crumbly substance fondly called ‘black gold.’ This ‘gold’ is the end product of a compost pile, teeming with life and ready to enhance your garden’s soil.
Composting typically occurs in four stages:
- Mesophilic stage: The composting process begins when mesophilic microorganisms break down readily biodegradable components. This stage operates at temperatures between 68-113°F (20-45°C).
- Thermophilic stage: During this stage, thermophilic microorganisms dominate and raise the temperature of the compost pile to 131-155°F (55-68°C). High temperatures facilitate the breakdown of more resistant materials, such as lignin and cellulose.
- Cooling stage: As the compost pile runs out of readily available nutrients, the temperature gradually decreases. Cooler temperatures allow mesophilic microorganisms to thrive and continue the decomposition process.
- Maturation stage: In the final stage, the compost matures, and the microorganisms complete their work. The compost becomes stable, odorless, and rich in nutrients, ready to be used in gardening or agriculture.
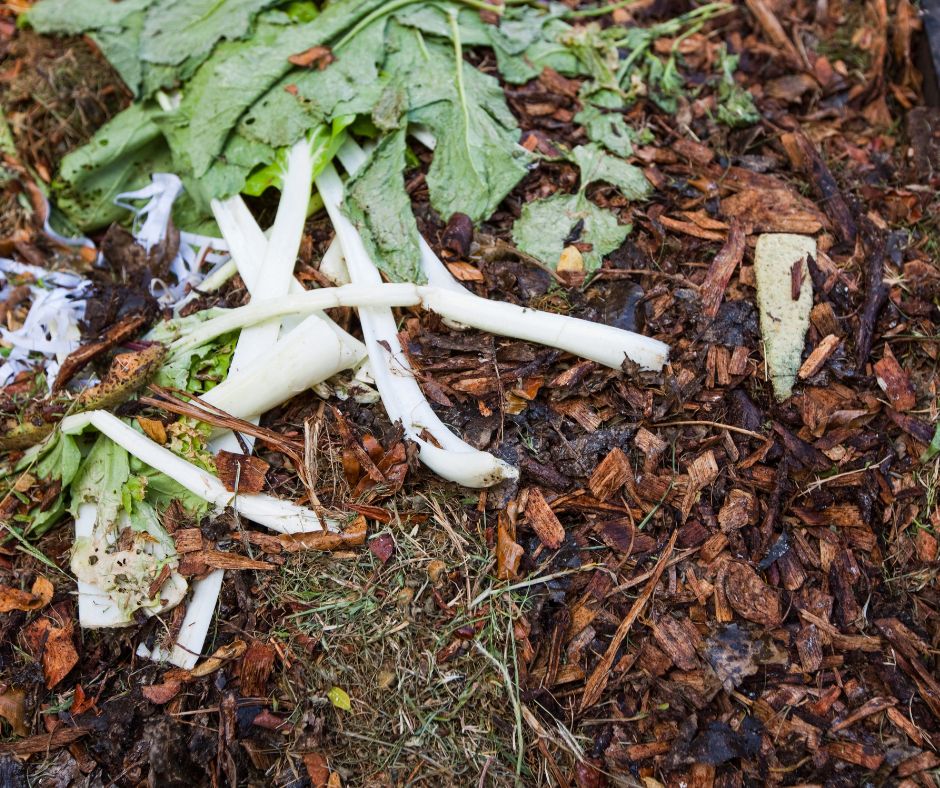
From leaves and grass clippings to vegetable scraps and coffee grounds, a compost pile can consume a surprising variety of organic materials, including yard waste. Recycling garden and yard waste is also feasible through indoor composting.
The key is to maintain a compost pile that’s at least 3 feet in each dimension, with materials no thicker than your finger.
What is Compost?
At its core, compost is decayed plant and food waste, teeming with many beneficial organisms and microorganisms. This nutrient-dense material, a gardener’s treasure, is a result of a meticulously managed decomposition process, which transforms organic waste produce finished compost.
Compost serves multiple roles in the garden, including:
Compost is a testament to the cycle of life, turning waste into a resource that enriches the healthy soil, and fosters new growth.

Why Compost at Home?
Home composting offers a multitude of benefits:
A well-maintained compost pile effectively prevents the attraction of pests or rodents. It can be a clean, odor-free process that contributes to a healthier garden and a greener planet.
So, are you ready to start composting at home?
Key Components for a Healthy Compost Pile
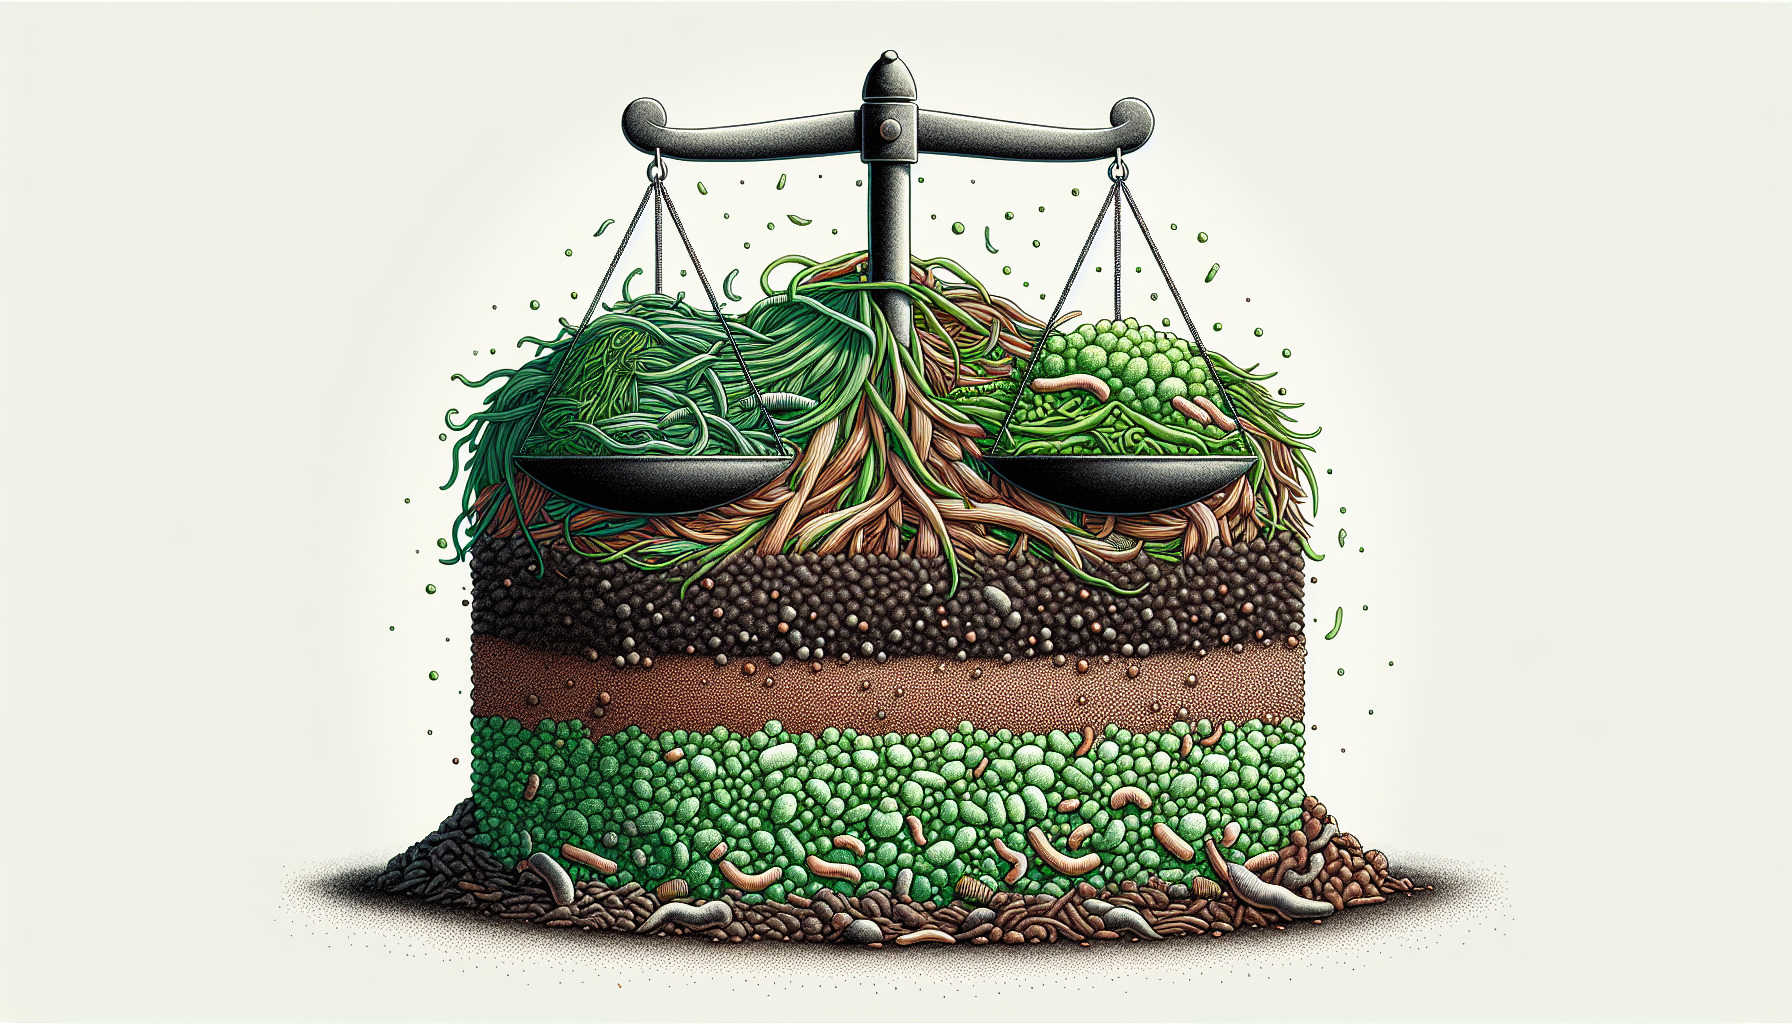
Composting involves more than merely piling up organic waste and waiting. It’s about creating the right environment for decomposition to occur. Achieving success in composting necessitates a careful equilibrium between green (nitrogen-rich) and brown (carbon-rich) components within your compost heap.
Maintaining this balance supports the microorganisms that break down the organic matter within a compost pile. An imbalance can result in a pile that is too dry and decomposes slowly or one that is excessively wet, slimy, and emits odor. So how do you achieve this balance? It’s all about understanding your green and brown materials.
Nitrogen-rich Materials
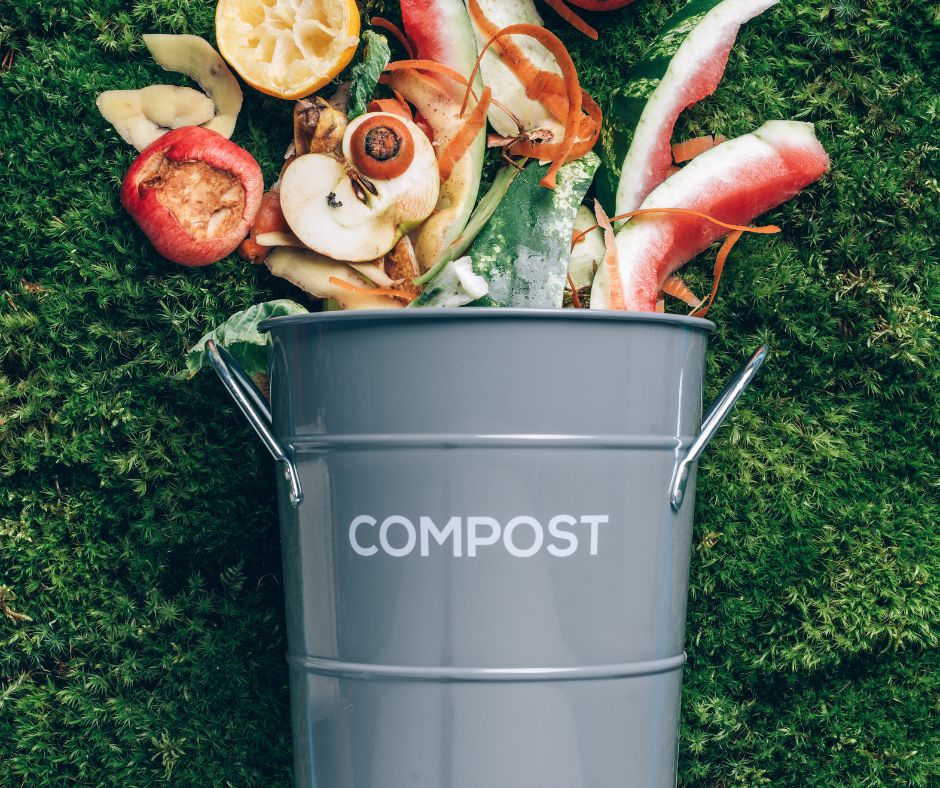
When we talk about green materials or nitrogen-rich materials we’re referring to fresh organic materials like grass clippings, food and kitchen scraps, and coffee grounds. These materials are rich in nitrogen, a key nutrient that enhances compost and supports plant growth.
However, too much of a good thing can be harmful. An excess of nitrogen in your compost pile can cause unpleasant smells and excessive decomposition. Balancing your nitrogen-rich materials in with carbon-rich ones is crucial to a healthy compost pile.
Carbon-rich Materials
Brown or carbon-rich material are just as important as their green counterparts in a composting bin or pile. These composting materials include:
- Dead leaves
- Branches
- Twigs
- Paper
They provide structure to the pile, allowing oxygen to permeate and support the microorganisms responsible for converting waste into usable compost.
Maintenance of the Compost Pile
As the composting process progresses, the egg carton pieces will degrade and become part of the overall compost mix. However, regular monitoring and maintenance are key to keeping your compost pile healthy.
- Monitor the compost pile’s temperature to ensure optimal conditions for decomposition.
- Check the moisture levels in the compost pile and adjust as necessary to prevent excessive dryness or saturation.
- Regularly turn the compost pile or use a compost tumbler to provide sufficient aeration. This helps prevent anaerobic conditions and allows for more efficient decomposition.
If the compost develops an unpleasant odor, it may indicate a need for aeration or adjustments in the carbon-to-nitrogen ratio.
Choosing the Right Composting Method
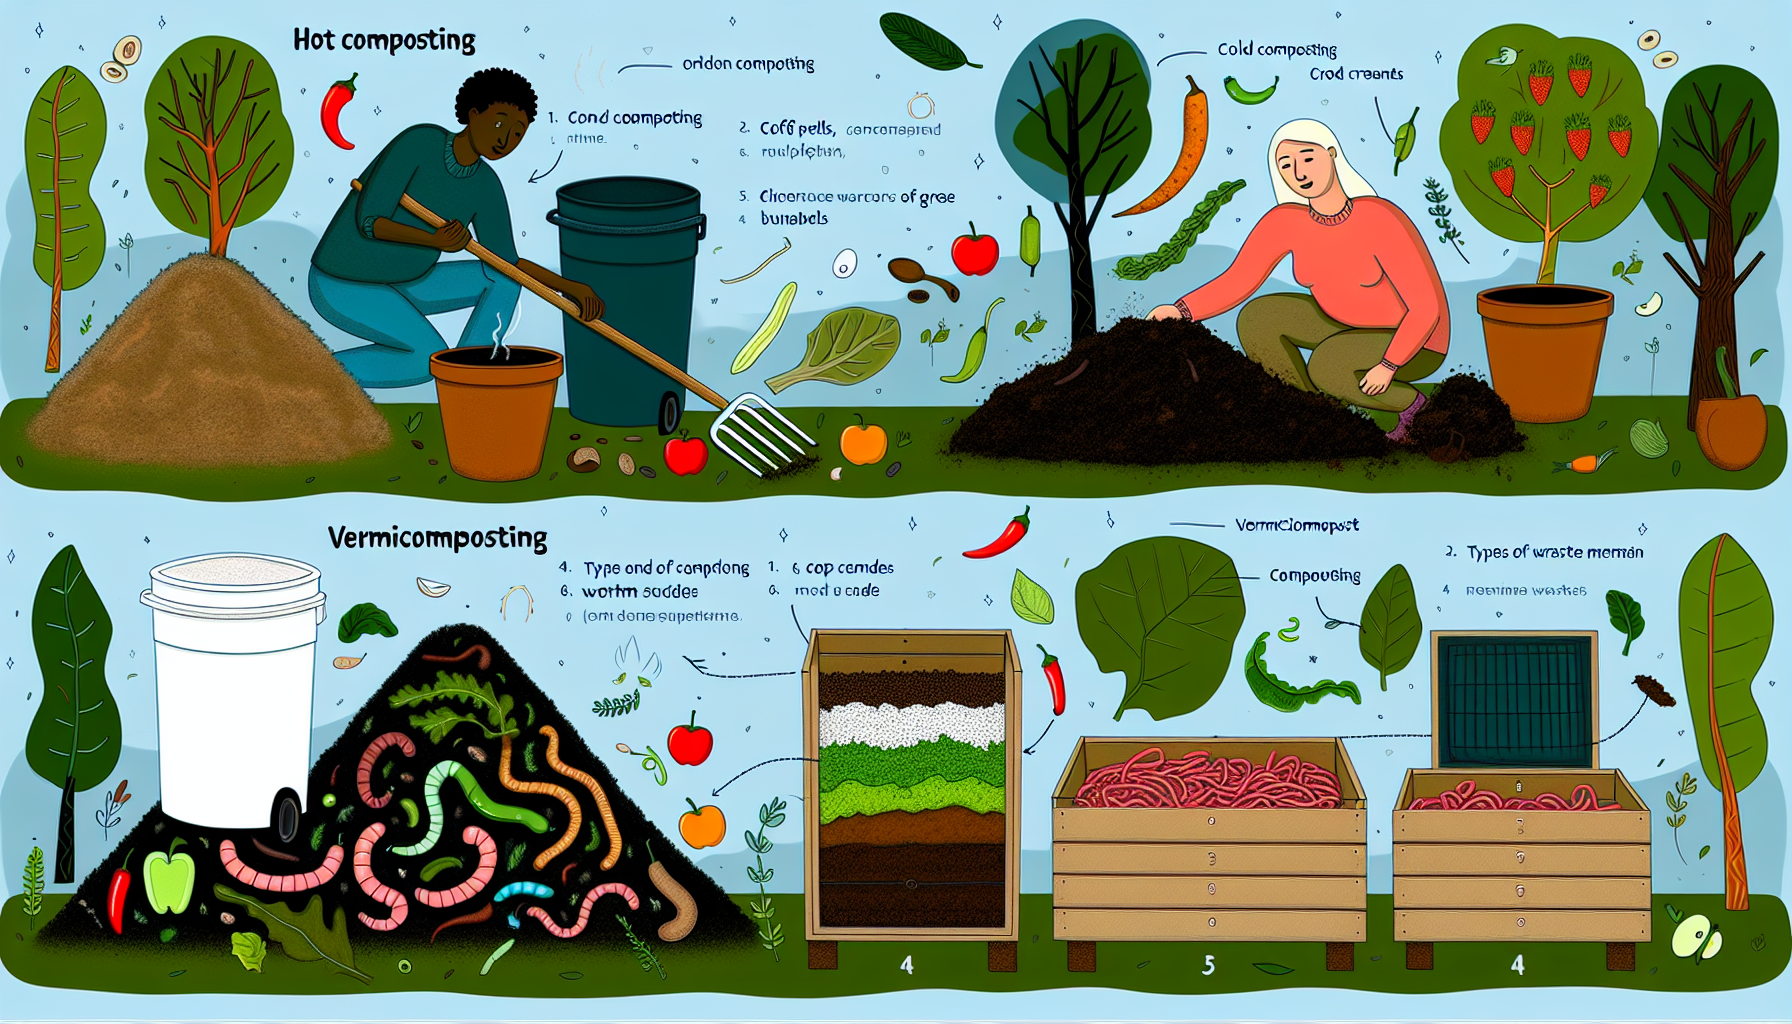
There is no one-size-fits-all method to composting. You can choose from hot composting, cold composting, and vermicomposting, depending on your needs and preferences.
Each method presents unique advantages and prerequisites. Here are three common methods of composting:
- Hot composting: This method is quicker but needs careful management. It involves creating a large pile of organic waste and turning it regularly to provide oxygen for decomposition.
- Cold composting: This method is slower but requires less effort. It involves simply piling up organic waste and allowing it to decompose naturally over time.
- Vermicomposting: This method uses worms to break down organic waste and is a space-saving method suitable for indoor composting.
Hot Composting
Hot composting is a fast-track method to producing compost. It involves creating optimal conditions for aerobic organisms to thrive, leading to high temperatures that accelerate the composting process and kill off weed seeds and pathogens.
However, hot composting requires careful waste management too. To successfully hot compost, follow these steps:
- Create a pile that is at least 3 feet in each dimension.
- Balance and layer your materials carefully. Include a mix of green (nitrogen-rich) and brown (carbon-rich) materials.
- Add a few shovels of garden soil to introduce the necessary microbes to break down the organic matter.
By following these steps, you can effectively hot compost and create nutrient-rich compost for your garden.
Cold Composting
Cold composting is a less intensive method of recycling organic matter than hot composting. It involves simply allowing organic matter to decompose over time.
While cold composting, may take longer, it requires less effort and is more forgiving. You can add materials as they become available and let nature take its course. However, you should avoid adding weed seeds or diseased plant materials as they may not be destroyed in a cold compost pile.
Vermicomposting
Vermicomposting, or worm composting, uses worms to break down organic waste. It’s an efficient method that produces nutrient-rich, compostable materials in three to six months and is perfect for indoor composting.
Setting up a worm bin requires some initial preparation, but once established, it’s a relatively maintenance-free system. Just feed your worms regularly with fruit and vegetable scraps and let them do their job. The result is vermicomposting, a highly beneficial soil amendment.
Setting Up Your Compost System at Home
Equipped with a basic understanding of composting and familiar with the various methods, you can proceed to set up your compost system. This involves choosing the right location and selecting the best compost bin for your needs.
Your compost system can be as simple or elaborate as you want. You could have a basic compost pile in the corner of your yard or a specialized compost bin. The choice depends on your composting needs, the amount of space you have available, and your personal preference.
Location
The location of your compost pile or bin is an important factor. It should be in a spot that is easily accessible and has the right conditions for composting.
You don’t want your compost pile too far from your kitchen or garden, as you’ll be adding materials regularly. It should also be in a well-drained area that’s not too sunny or too shady. Remember, your compost pile is a living system and needs the right environment to thrive.
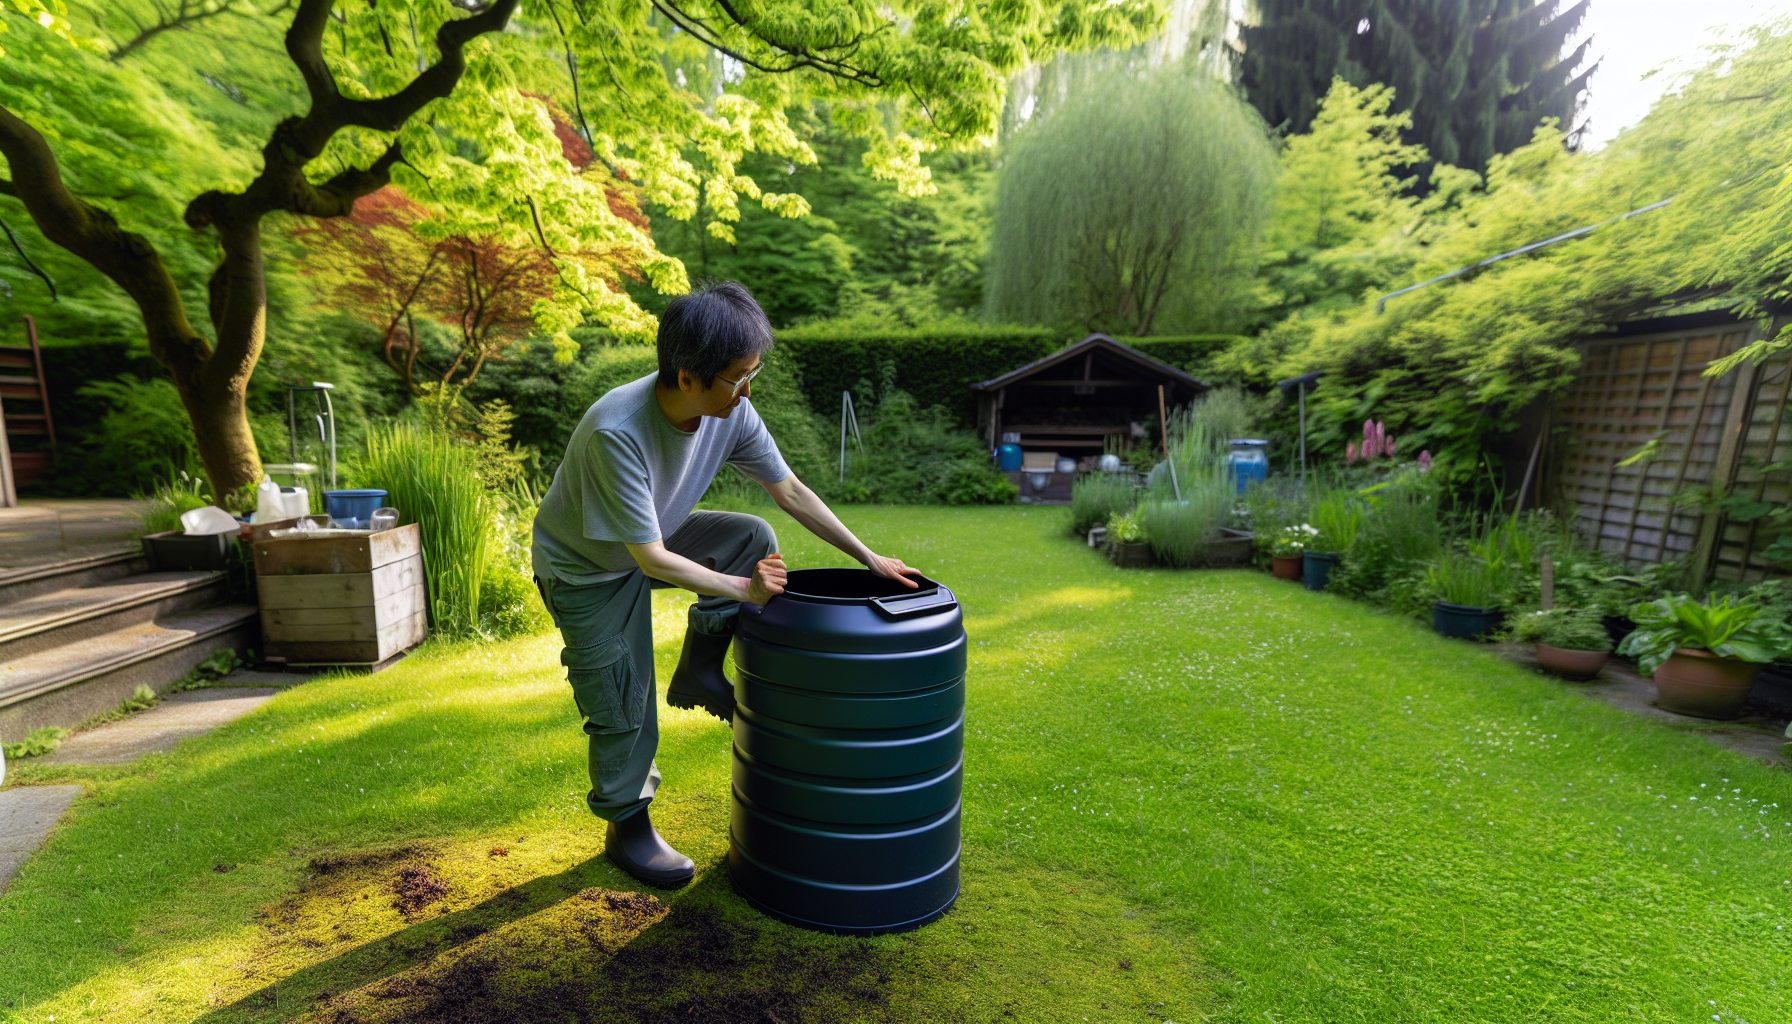
Compost Bin Options for Your Home
When it comes to compost bins, you have several options. A simple open pile plastic storage bins is a low-cost option that works well if you have a large yard. If you have less space or want a neater appearance, an enclosed bin is a good choice.
You could also consider a compost tumbler. These sealed containers make it easy to turn your pet and food waste back into compost and speed up the composting process. They’re ideal for people who want to compost kitchen waste like meat and fat, which aren’t usually recommended for open compost piles.
Maintaining Your Compost Pile
After setting up your compost system, maintaining it becomes crucial. This involves making sure your compost pile has the right mix of materials, is properly aerated, and has the correct moisture levels.
Bear in mind, your compost pile is a thriving ecosystem. By looking after it, you’re helping to speed up the composting process and ensuring you end up with a high-quality product that will benefit your garden.
Aeration
Aeration plays a vital role in maintaining a healthy compost pile. By turning or stirring your compost pile regularly, you’re ensuring that air can reach all parts of the pile. This is essential for the aerobic bacteria that break down your compost materials.
Aeration in composting refers to the process of introducing air or oxygen into the compost pile. It is a crucial aspect of successful composting as it promotes the activity of aerobic microorganisms, which thrive in the presence of oxygen.
The benefits of aeration are numerous:
Tools for Aeration:
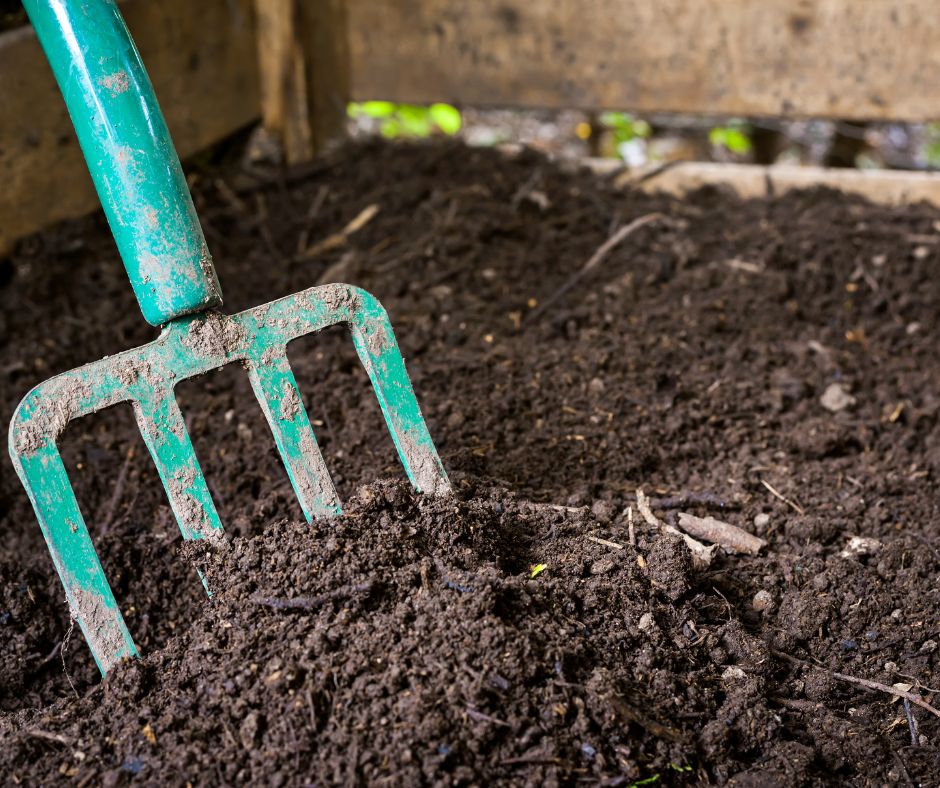
- Pitchfork or Compost Turner: These tools are ideal for turning and aerating. Compost turners are specifically designed for this purpose and are efficient in preventing compaction.
- Aeration Tubes or Pipes: Inserting perforated tubes or pipes into the pile facilitates airflow. This is particularly useful for larger composting systems.
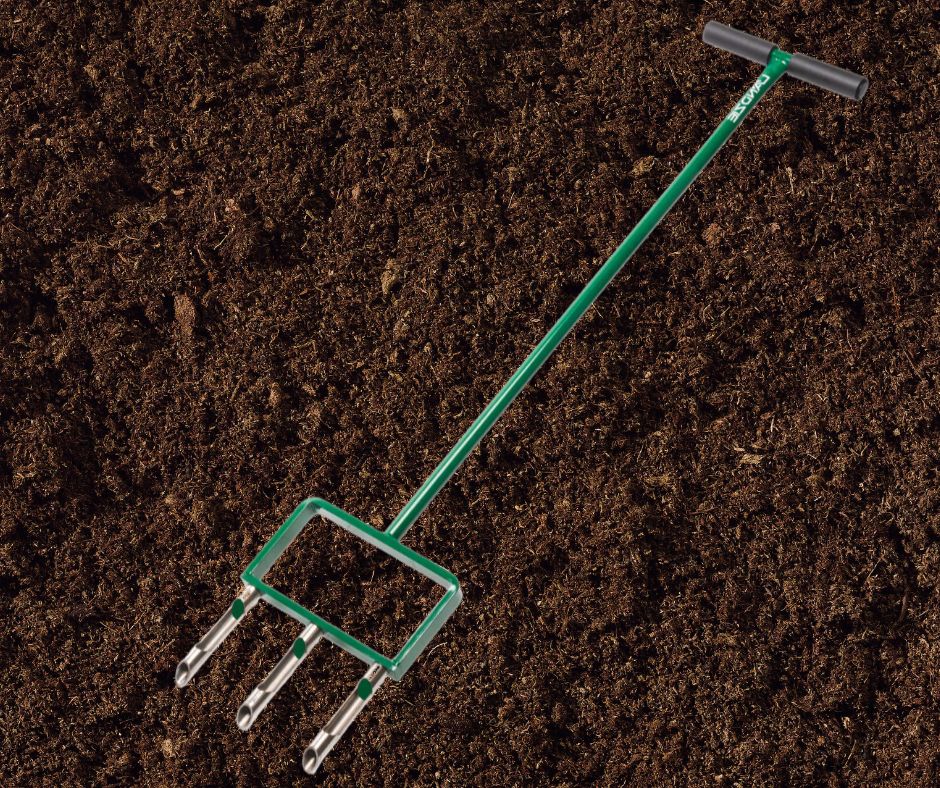
- Aerator Tools: Various hand-held aerator tools, resembling large corkscrews, can be twisted into the compost to create air channels.
How to Aerate Compost:
- Turn the Pile: Regularly turn the compost pile using a pitchfork or compost turner. This introduces fresh oxygen and mixes the compost materials.
- Create Air Channels: Insert aeration tubes or pipes into the compost, especially in larger piles, to allow air to reach the center.
- Use Aeration Tools: Employ hand-held aerator tools to penetrate the compost, creating holes for better airflow.
- Monitor Moisture: Ensure that the compost pile maintains proper moisture levels, as overly wet conditions can hinder aeration.
By incorporating these aeration techniques and tools, you can optimize the composting process, resulting in faster decomposition and the production of nutrient-rich compost for your garden.
If you start noticing unpleasant odors from your compost pile, it’s a sign that it’s not getting enough air. Turning it more frequently can help resolve this issue.
Moisture Management
Moisture, much like aeration, is indispensable to the composting process. To maintain a healthy compost pile, ensure that it remains as damp as a wrung-out sponge. This moist environment is ideal for the decomposition of organic materials. Too dry, and the decomposition process will slow down. Too wet, and you risk creating an anaerobic environment that can lead to unpleasant odors.
For example, a hot compost pile has the potential to lose approximately 1% of its moisture content daily. For regions with warm climates, it is advised to initiate the composting process with a moisture content of around 60% in a blended compost recipe. This initial moisture level allows for a grace period of 7-10 days before the need to remix and rehydrate the compost.
Monitoring your compost pile’s moisture levels and adding dry or wet materials as needed can help you maintain the right balance. Remember, composting is an art as well as a science, and it may take some time to get the hang of it.
Troubleshooting Tips
Despite careful maintenance, you may encounter a few issues with your own compost heap or pile. But don’t worry, most problems can be easily resolved.
If your compost pile is producing odors, it could be a sign that you’re adding too many carbon and nitrogen–rich materials, or ‘greens’. Try adding more carbon-rich materials, or ‘browns’, to restore the balance. Flying insects can be deterred by keeping fruit and vegetable scraps covered and sprinkling lime or calcium on your pile.
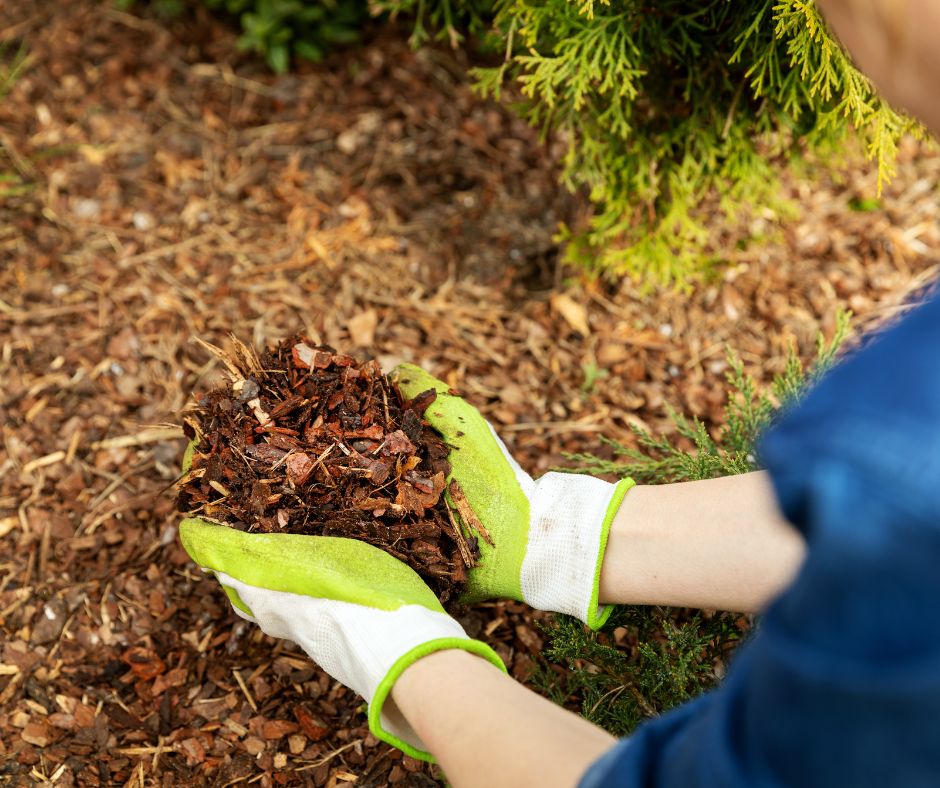
How to Use Your Finished Compost
When your compost pile transforms into a rich, crumbly substance, it signals the time to enjoy the fruits of your labor. Finished compost, or ‘black gold’ as gardeners often call it, is a valuable resource that can greatly enhance your garden’s soil.
You can use your composting material in multiple ways:
Conclusion
We’ve journeyed from understanding the basics of composting to exploring different composting methods, setting up a compost system, and maintaining it. Composting is a rewarding process that not only reduces waste, but also enriches your garden. It’s an act of returning to nature, a celebration of the cycle of life. So why not start composting at home? Your garden will thank you.
Frequently Asked Questions