How To Make A Compost Bin: Easy, Step-by-Step Instructions
Ready to turn your household waste into garden treasure? This guide simplifies how to make a compost bin, tailoring solutions to different spaces and preferences. We’ll provide a clear list of materials and concise steps for creating your composter. From small apartments to spacious backyards, get ready to enrich your garden soil sustainably with your very own compost bin.
Key Takeaways
Choosing the Right Composting Method

The initial phase of your composting journey involves selecting a method that aligns with your lifestyle and garden needs. There’s a buffet of composting methods to choose from, each offering its own unique benefits and challenges. Hot composting, for instance, is a speedy method that breaks down the organic matter and waste quickly but requires regular maintenance to keep the compost heap at the right temperature.
On the other hand, if you’re looking for a more hands-off approach, consider cold composting or trench composting. Both methods require minimal effort but take longer to produce finished, compostable materials. And if you’re an urban dweller with limited outdoor space, don’t fret! Indoor composting methods like Bokashi and vermicomposting (worm composting) can turn your own kitchen scraps and waste into nutrient-rich compost without a backyard.
Ultimately, your selection hinges on considerations such as available space and your willingness to participate actively in the whole composting bin and process. Are you prepared to start constructing your own compost bin? It’s a great way to reduce waste and improve your garden soil.
Creating a Simple Compost Heap

For those new to composting, initiating with a basic compost heap is an excellent starting point. This traditional method is a straightforward way to convert your food scraps and yard waste into a nutrient rich soil amendment whole. It involves layering different types of composting materials, balancing moisture levels, and turning the pile regularly for effective decomposition.
While it requires a bit of time and effort, the result is nutrient-rich compost that your garden will love.
Materials Needed
The enchantment of composting springs from transforming mundane materials like food waste into nutrient-dense compost. Green materials such as kitchen waste, coffee grounds, and fresh grass clippings provide nitrogen, essential for the growth and reproduction of composting microorganisms. Balancing these nitrogen-rich ingredients are brown materials like dry leaves, sawdust, and shredded newspaper that are high in carbon, providing energy for the composting organisms.
Water is another essential ingredient, maintaining the right moisture balance in the compost pile for effective decomposition. Lastly, compost activators or starters like manure or finished compost can be added to leaf pile to kickstart the composting process by introducing beneficial microorganisms.
Layering Technique
With your materials at hand, you’re ready to commence the layering process! But it’s not just about throwing things in a pile. There’s a bit of an art to layering your compost bin. Start with a base layer of coarse materials like corn cobs or husks to enhance aeration at the bottom of your compost heap.
Next, to create a compost pile, follow these steps:
- Alternate six to eight inches of brown materials with two to three inches of green materials.
- Sprinkle a thin layer of soil, compost, or manure between each layer to introduce microorganisms that aid in decomposition.
- Remember, smaller pieces decompose more rapidly due to increased surface area, so shredding added materials can speed up composting.
Don’t forget to maintain a ratio of 60% carbon to 40% nitrogen and keep the pile slightly moist but not soaked.
Building a Wooden Compost Bin
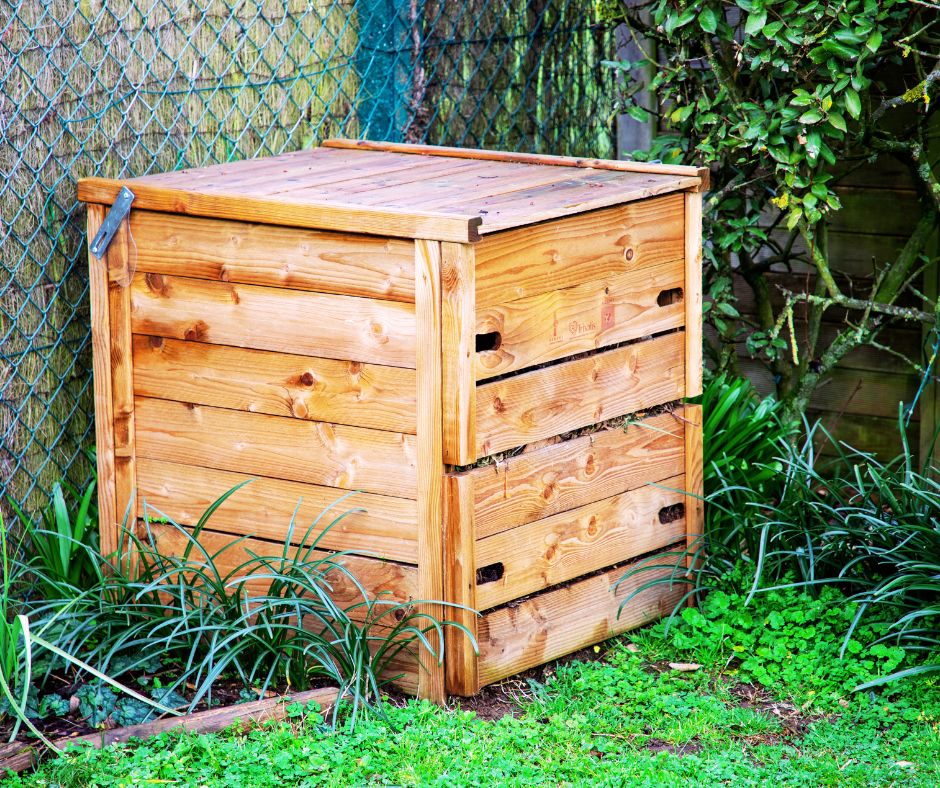
If you’re looking for a more structured composting solution, a wooden compost bin might be right up your alley. Not only does it provide a neat and contained area for your composting materials, but it also adds a rustic charm to your garden. The best part? You can build one yourself using untreated lumber, which is naturally resistant to rot and free from potentially harmful chemicals.
With a sturdy construction and a hinged lid for easy access, a wooden compost bin can be a game-changer in your composting journey.
Tools and Materials
The construction of a wooden compost bin necessitates a few fundamental tools and materials. You’ll need:
- Wooden planks
- Utility wood
- A saw
- A power drill
- Protective equipment for your eyes and hands.
If you’re looking for specific dimensions, 16 wooden planks measuring approximately 36 inches long, 7.5 or 8 inches wide, and 5/8” or 3/4” thick, along with 16 pieces of 2”x2” utility wood cut to 6” lengths are recommended. For the saw and drill, a circular or miter saw and a power drill will do the trick. And don’t forget your safety glasses and gloves to protect yourself during the construction process.
Construction Steps
Having assembled your tools and supplies, the construction of your compost bin can now commence. Begin by creating a square frame for the bin using four pieces of untreated lumber, with corner stakes cut to 3-foot lengths to use as vertical supports.
Next, assemble the panels and join the sides together to form the bin. Ensure the structure is square before attaching the boards to the frame. Add extra support along each side and the bottom to reinforce the frame.
Finally, to complete your compost bin, follow these steps:
- Build a lid and attach it to the bin with hinges.
- Secure the lid with a latch.
- Add a handle for easy access.
- Line the interior of the bin with hardware cloth to keep the compost contained and deter animals.
Constructing a Wire Fence Compost Bin
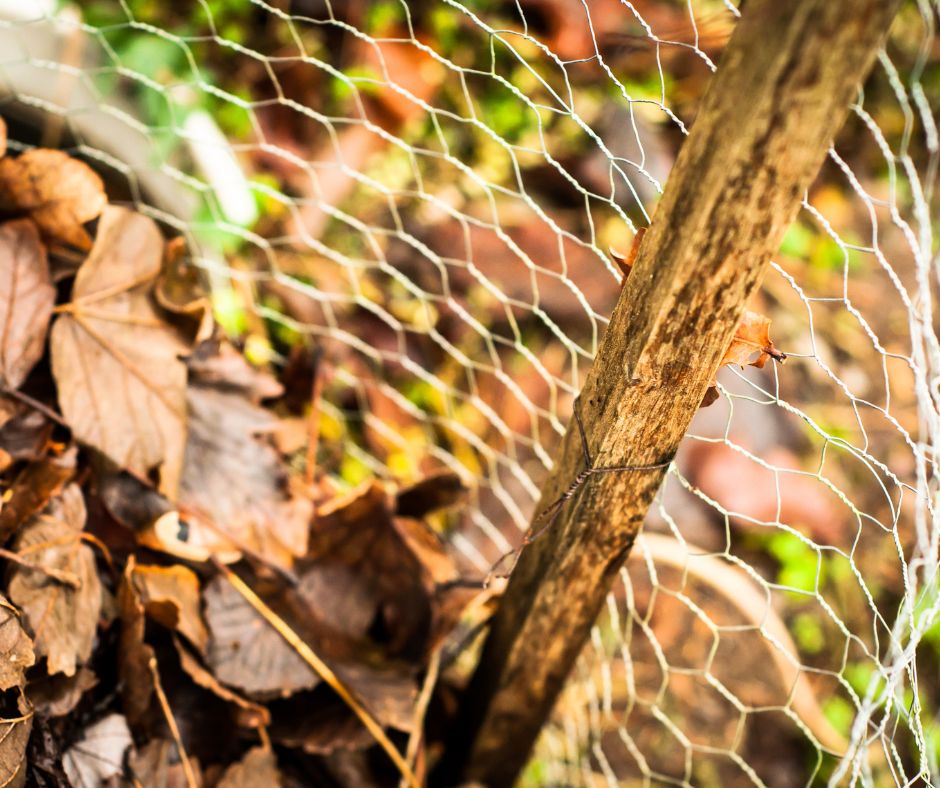
A wire fence compost bin is another great option if you’re on a budget or looking for a quick and easy composting solution. It’s as simple as shaping a piece of chicken wire or hardware mesh into a cylinder and securing it with stakes.
This DIY diy compost bin is easy to assemble, easy to move, and perfect for beginners. Additionally, there are various diy compost bins available to suit your needs, including the straw bale compost bin.
Tools and Materials
Prior to initiating the assembly of your wire fence compost bin, several materials are required. The main one is a length of chicken wire or hardware mesh, depending on the size of the metal compost bin you want to make. You’ll also need:
- Garden stakes or u-posts to secure the bin to the ground
- Wire or zip ties to hold the fencing together and attach it to the stakes
- Pliers, a wire cutter or tin snips, and work gloves to protect your hands from sharp edges
Assembly Instructions
With your necessary materials assembled, you can now begin constructing your wire fence compost bin. Here’s how:
- Measure out your chicken wire to the desired height and length for your bin.
- Shape the wire into a cylinder.
- Use your zipties to attach the ends of the wire to a garden stake or u-post.
To ensure stability, secure the wire fencing ends at the top, middle, and bottom. Use stakes to secure the bin firmly to the ground, and anchor the bottom with additional stakes or small anchors to prevent digging under the bin. Remember to place your compost bin outdoors over soil and near the garden for easy addition of yard and garden waste and compost use. A cylindrical wire bin shape is recommended.
DIY Pallet Compost Bin

If you’re seeking a versatile and cost-effective solution, a DIY pallet compost bin could be a great fit for you. Wooden pallets are often free to collect and make for an excellent enclosure for composting. Plus, pallet compost bins are:
- Easy to assemble
- Versatile
- Cost-effective
- Popular choice for DIYers
Finding and Preparing Pallets
Prior to embarking on the construction of your pallet compost bin, sourcing and prepping your pallets is necessary. You can often find free pallets from local small businesses that may not have established disposal systems for their pallets.
When selecting your pallets, keep in mind that uniform-sized pallets will simplify the assembly process and contribute to a more aesthetically pleasing compost bin. So remember to choose pallets of the same width to build a uniformly square compost bin.
Building the Pallet Compost Bin
With your pallets sourced and ready, the construction of your compost bin can now begin. Begin by attaching one pallet that will be an outer sidewall to another pallet that will form the back side of the bin. For a sturdier structure, add L-shaped brackets to the sides of the frame using predrilled holes to avoid splitting the wood.
And for a smooth composting process, here are some steps to follow:
- Create a door by cutting a fourth pallet in half below a brace.
- Attach the door to the frame with hinges to enable it to swing open smoothly.
- Don’t forget to secure the door with a latch for easy access and to keep unwanted critters out.
Creating a Worm Compost Bin
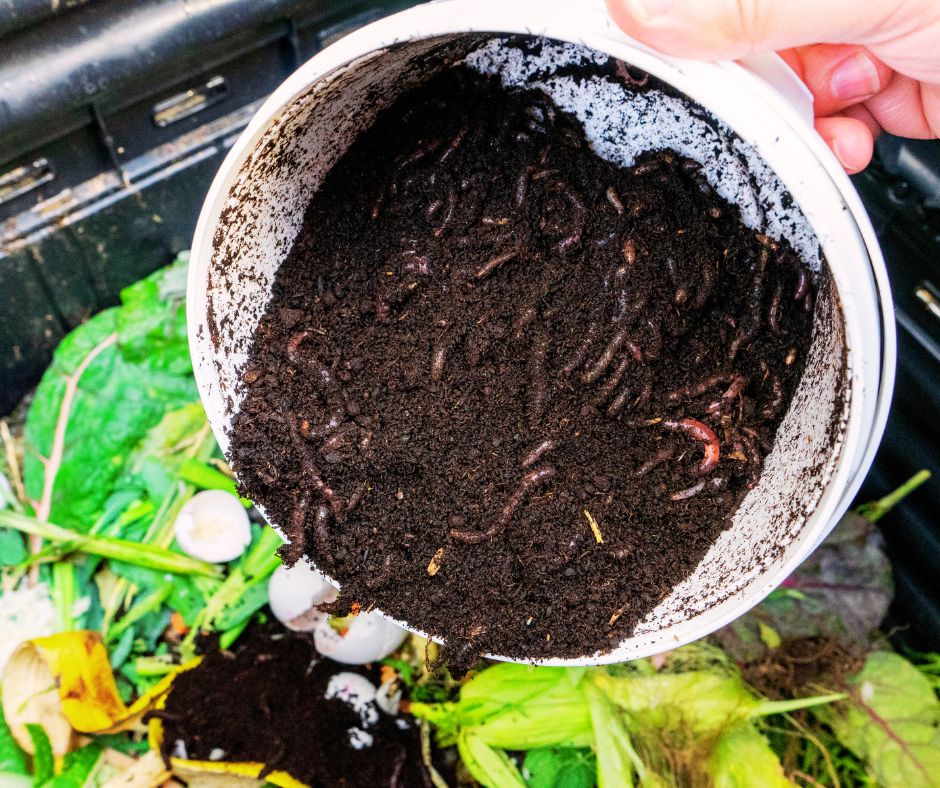
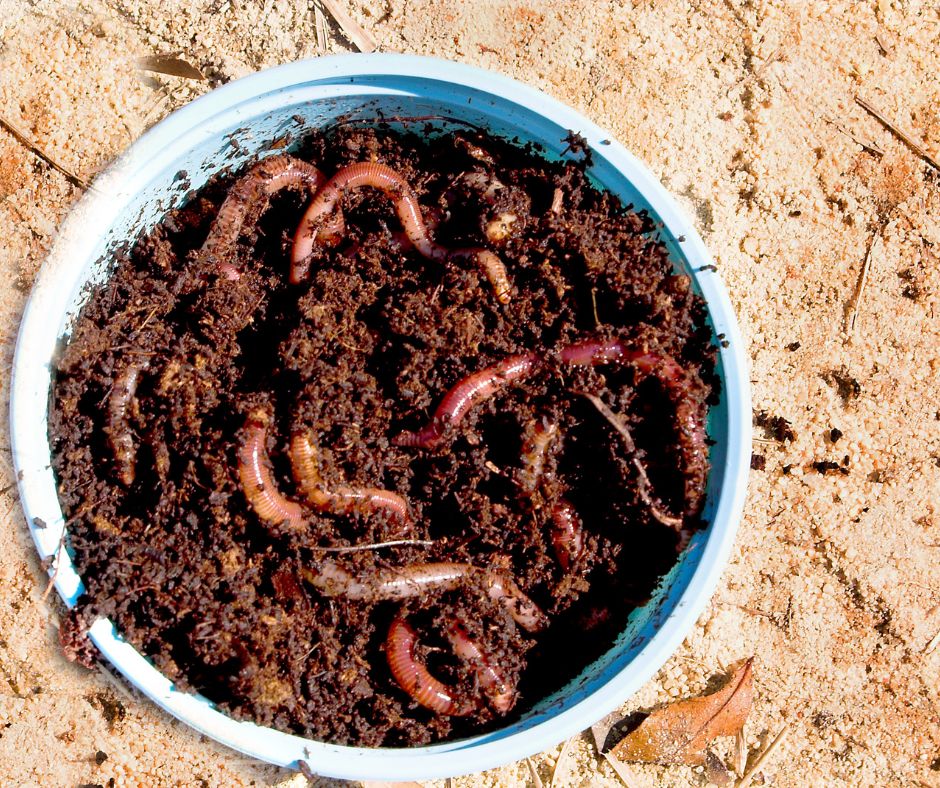
If you’re looking for a great compost-ing method that doubles as a science experiment, why not try creating a worm compost bin? Also known as vermicomposting, this method uses red wiggler worms to break down organic waste into natural fertilizer. It’s a fun and effective way to compost at home, especially if you have limited outdoor space.
Tools and Materials
Prior to initiating the creation of your worm farm and compost bin, amass your necessary tools and materials. You’ll need:
- At least two containers, such as three five-gallon plastic buckets
- A lid to fit one of the buckets
- A drill equipped with 3/16-inch and 1/8-inch drill bits to create ventilation and drainage holes in the buckets
- Numerous 1/8-inch holes drilled into the lid for additional aeration
Other materials include bedding for the worms, which can be peat moss, wood chips, grass clippings, coconut coir, or shredded paper.
Setting Up the Worm Bin
With your materials in place, you can now proceed to set up your worm bin. Begin by lining the bottom of a drilled bin with moistened shredded newspaper, cardboard, or coir. Make sure it has the consistency of a wrung-out sponge.
Next, to set up your worm bin, follow these steps:
- Add a shovelful of garden soil or finished compost to the bedding to introduce beneficial microorganisms and provide grit for the worms.
- Gently scatter the worms over the moistened bedding.
- Cover the container to create a dark environment for your worms to thrive in.
Making a Compost Tumbler

If you’re looking for a composting method that’s easy to turn and doesn’t require a lot of space, a compost tumbler might be the perfect solution for you. Here are some benefits of using a compost tumbler:
- They are easy to turn, making the composting process more efficient.
- They are elevated off the ground, making them less accessible to pests.
- They are designed to heat up quickly, accelerating the composting process.
Tools and Materials
Before embarking on the construction of your compost tumbler, assemble the necessary tools and materials. You will need a 55-gallon plastic drum, pressure-treated boards for the stand, and a either galvanized steel or metal electrical conduit for the axle.
To assemble the compost tumbler, you’ll need various tools, including:
- a miter saw or circular hand saw
- a drill
- various drill bits
- different types of screws
- hinges
- a latch for the hatch door.
Building Steps
Upon assembling your tools and materials, the building process of your compost tumbler can commence. Here are the steps to follow:
- Begin by cutting a hatch door approximately 12”x12” midway along the side of the plastic drum.
- Install hinges and a latch.
- Drill ⅜ inch aeration holes 2-3 inches apart around the drum.
Next, construct a stand for your homemade compost tumbler using pressure-treated lumber or coated metal. Mount the drum on the stand using the conduit as the axle, passing through each end of the drum’s center. And there you have it – your very own DIY compost tumbler!
Tips for Maintaining Your Compost Bin
Effective composting is contingent on the proper maintenance of your compost bin. Regularly turning the compost pile, shredding organic materials, and ensuring the pile reaches an adequate height are key steps in maintaining a healthy decomposition process.
Moisture levels within the compost bin should also be monitored. A plastic sheet or pre-soaked cardboard can be used in dry climates to retain moisture. In addition, maintaining compost bins at an internal temperature between 110 °F and 140 °F ensures efficient composting. And remember, to keep animals and pests at bay, use a tightly fitting lid secured with heavy materials, such as bricks, and line the compost bin with hardware cloth.
Using Finished Compost in Your Garden
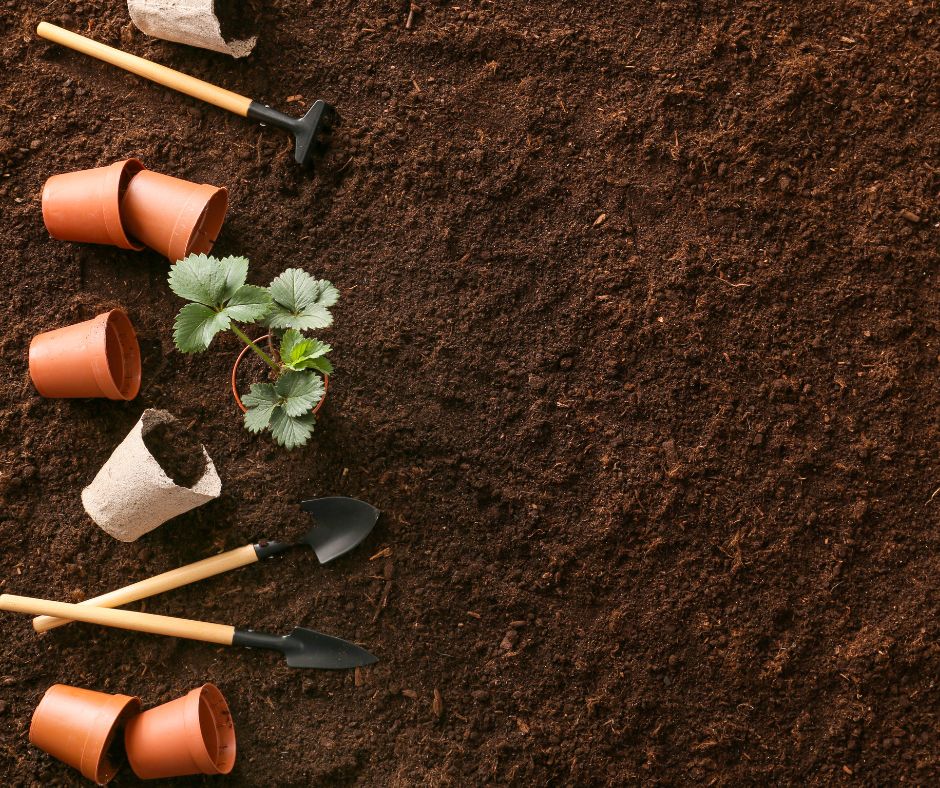
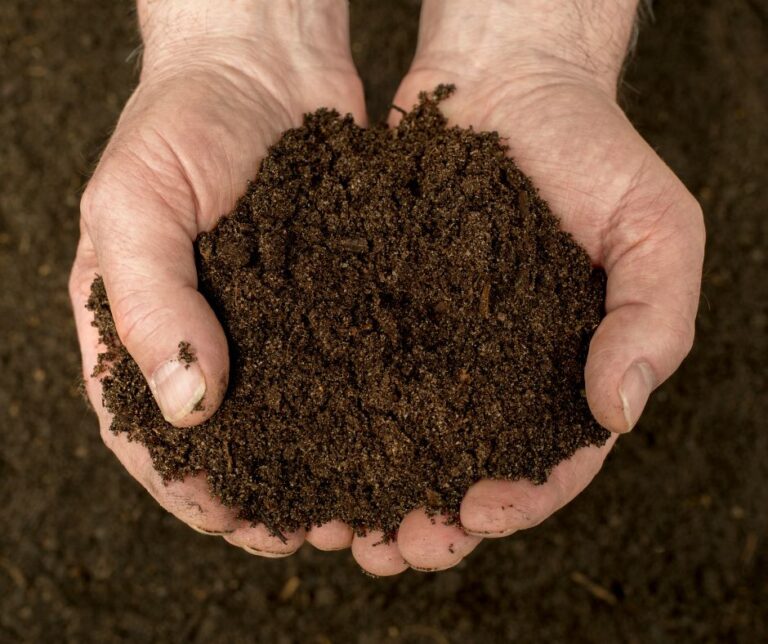
Following your diligent composting efforts, the moment has arrived to reap the rewards of your hard work. Finished compost, recognizable by its rich dark brown color, crumbly texture, and earthy smell, is a garden goldmine, chock full of nutrients that plants love.
Finished compost can be mixed into garden soil, used as a top dressing for plants, or made into compost tea for use as a liquid fertilizer. It improves soil moisture retention, structure, nutrient levels, and pH balance, supporting a healthy ecosystem of soil organisms. Just remember to use only mature compost to avoid attracting pests, harming plants, and depleting soil nutrients.
Summary
In conclusion, composting at home is an easy, cost-effective, and sustainable solution to managing organic waste. Whether you choose to create a simple compost heap in your backyard, build a wooden compost bin, or set up a worm compost bin indoors, the benefits go beyond reducing waste and enriching your garden soil. Composting is a practical way to contribute to a more sustainable future. So why wait? Start composting today and make a difference in your corner of the world!
Frequently Asked Questions


