Mastering Composting: Discover How To Turn Your Waste Into Garden Gold
Looking to enrich your garden and reduce kitchen waste at the same time? Composting is your answer. In this guide, we’re cutting through the clutter to bring you straightforward advice on creating your own compost with ease. Discover the essential steps, tips, and benefits of turning food scraps and yard waste into soil gold.
Key Takeaways
Understanding the Basics of Composting

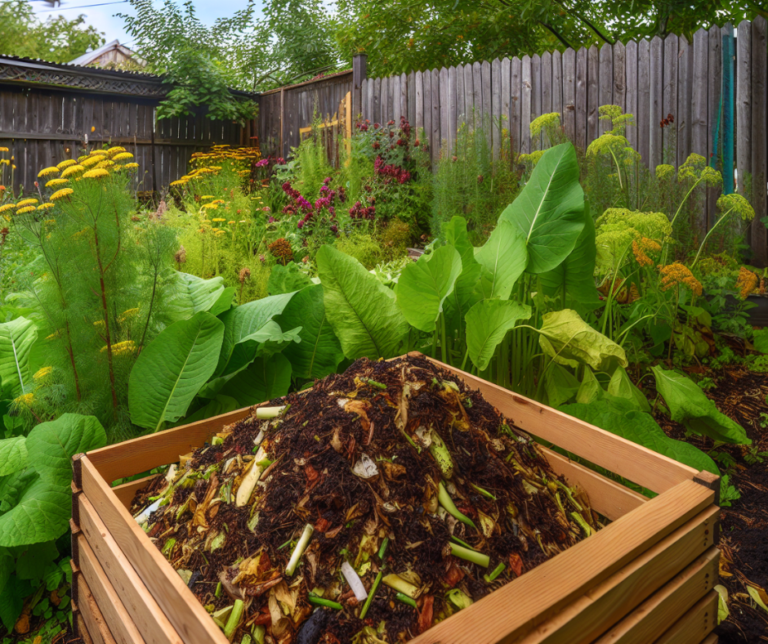
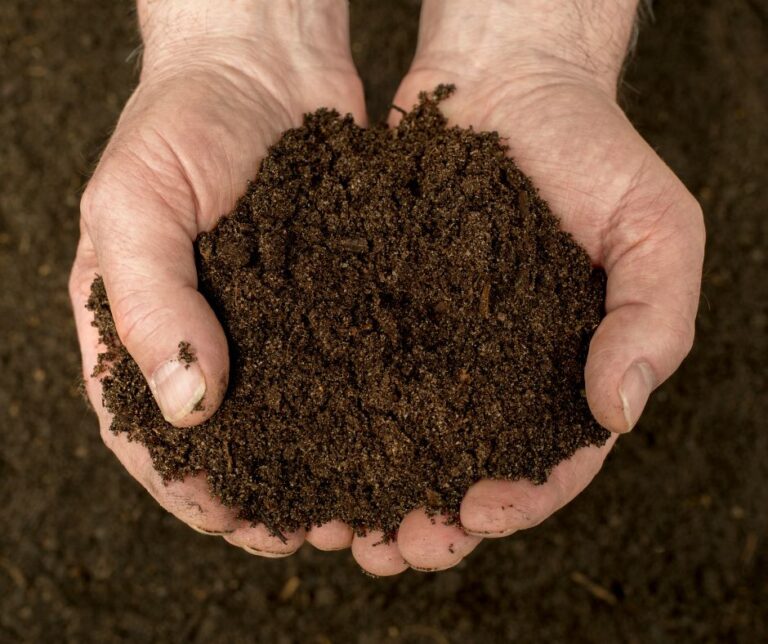
Composting, at its core, is a biological process where microorganisms, bacteria, and insects work their magic on organic materials like leaves, grass clippings, and certain kitchen scraps, turning them into compost. This compost, a soil-like product rich in nutrients, enhances soil quality and, in turn, enriches ecosystems by returning these nutrients back to the soil.
But there’s more to composting than creating garden-ready soil. It’s also a significant player in climate change mitigation. By reducing methane emissions from landfills, aiding soil in absorbing water, and enhancing carbon sequestration, composting helps mitigate the effects of floods and droughts. This process involves the controlled, aerobic decomposition of organic materials by microorganisms and requires a proper balance of carbon-rich and nitrogen-rich materials.
Some benefits of composting include:
By composting your garden waste, you can contribute to a healthier environment and create nutrient-rich soil for your garden.
Selecting the Perfect Spot for Your Compost Pile

With a grasp on the composting process, it’s time to decide on the location of our compost pile. The location of your compost pile can impact the efficiency of the composting process. It should be within reach of a hose for water access and should allow for year-round access, keeping in mind space for turning the pile and proximity to garden beds for easy compost use.
Here are some key considerations for the location of your home compost bins and pile:
By considering these factors, you can ensure that your compost pile is in an ideal location for efficient composting.
Equally important is the climate. In sunny climates, select a shaded location or protect the pile from excessive rain in wet climates to maintain optimal moisture levels and not hinder the decomposition process due to extreme temperatures.
As for aesthetics and practicality, place worm bins and the compost pile at a thoughtful distance from the house and neighbors to reduce visibility, odors, and deter wildlife attracted to adjacent food sources.
Crafting Your Compost Bin

After determining the ideal location, it’s time to consider the compost bin. There’s a multitude of options available, ranging from DIY to store-bought solutions, each with its unique benefits. For instance, you could construct a DIY compost bin using an old barrel and sawhorses to make a tumbler or drill holes into a plastic trash can for a simple, beginner-friendly option.
If you prefer a ready-made solution, there are a few options available:
Choose the option that best suits your needs and space availability.
When choosing a compost bin, consider factors like location and the type of waste you’ll be managing. Different setups like multi-bin composters can optimize the breakdown process, and for easy tossing of kitchen waste and scraps, stationary bins might be the choice. Remember, for efficient breakdown of the compost pile, it should be approximately 3 feet wide by 3 feet high.
The Green and Brown Balance
Having covered the basics, we now explore the essence of composting – balancing green and brown compost materials, which are types of organic matter. In composting terms, green materials are nitrogen-rich and include fresh, recently alive items like vegetable and fruit scraps, while brown materials are carbon-rich and older, such as wood chips and straw. The carbon-to-nitrogen (C:N) ratio greatly influences decomposition in a compost pile, and an ideal ratio is about 20:1, which often can be achieved by maintaining a balance of greens to browns.
Kitchen Scraps and Coffee Grounds
Kitchen scraps, particularly fruit and vegetable scraps, are rich in nitrogen and essential for a faster composting process. Food scraps not only contribute valuable nitrogen to your backyard composting pile but also help reduce the amount of food waste that would otherwise end up in landfills.
Coffee grounds, another common form of food waste, also play a significant role in composting. They enhance compost with their ideal carbon-to-nitrogen ratio and can be added with their paper filters. These high nitrogen materials, including grass clippings and vegetable scraps, accelerate the decomposition activity within compost.
Yard Waste and Additional Browns
Complementing kitchen scraps, we have yard waste and other carbon and nitrogen rich materials contributing significantly towards achieving the ideal carbon-to-nitrogen ratio.
Some examples of brown materials for composting include:
Incorporating these dry materials can facilitate better airflow and help manage moisture by creating channels in the compost. However, fresh grass clippings, while rich in nitrogen, should be added sparingly to avoid creating air-restrictive mats.
Enhancing the Composting Process
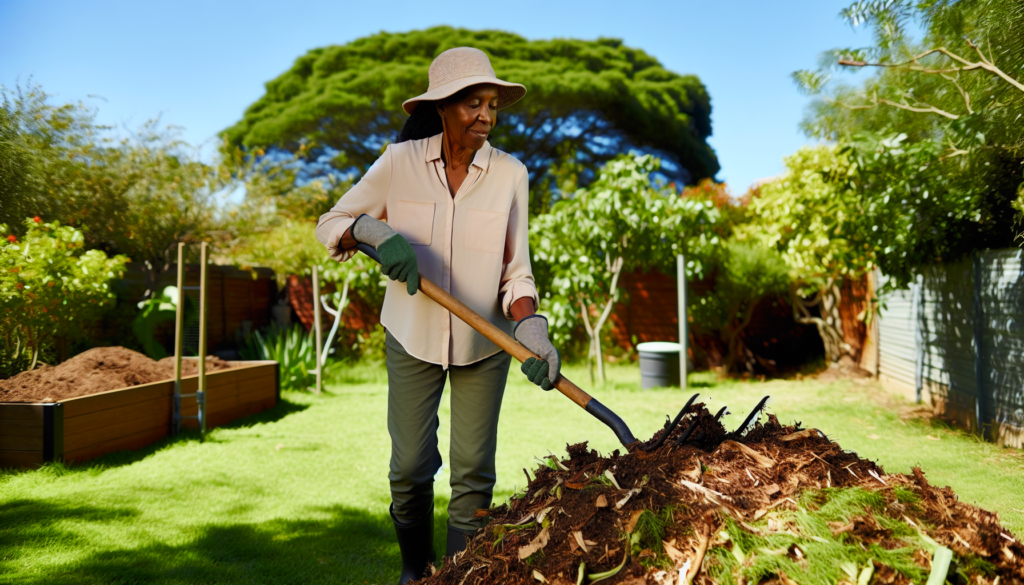
With a balance of green and brown composting materials established, we can now concentrate on methods to expedite the composting process. These include managing moisture levels, turning the pile to introduce oxygen, and shredding materials to increase their surface area for faster decomposition.
Remember, the timeline for composting can range from three months to two years, strongly influenced by the management of the pile, including techniques for enhancing the aerobic composting process itself.
Hot vs. Cold Composting
The composting process can be broadly categorized into hot and cold composting. Hot composting, or the Berkeley method, requires maintaining a temperature of 130-160 degrees Fahrenheit to achieve finished, composting material in a few weeks. It necessitates a large pile of green and brown materials and sufficient moisture.
On the other hand, cold composting is a passive process, where materials are added to the pile as they are available and may take a year or two to produce usable compost, requiring minimal effort and management. Whether you choose hot or cold composting depends on your specific needs, including how much organic material you waste, the volume of waste, available space, and how quickly you want the compost.
Aeration and Moisture Control
Aeration and moisture control are critical elements in the composting process. A compost pile should be kept at a moisture level akin to a wrung-out sponge, which promotes optimal microbial activity and the decomposition process. Should your compost pile become too dry, adding water and fresh materials as needed can bring it back to life.
Incorporating structures such as piping or large sticks can increase natural air flow throughout the pile. Regular turning of the compost pile introduces the crucial oxygen that expedites the composting process and reduces unwanted odors. These techniques ensure that your compost pile stays healthy and productive.
Worm Composting Simplified
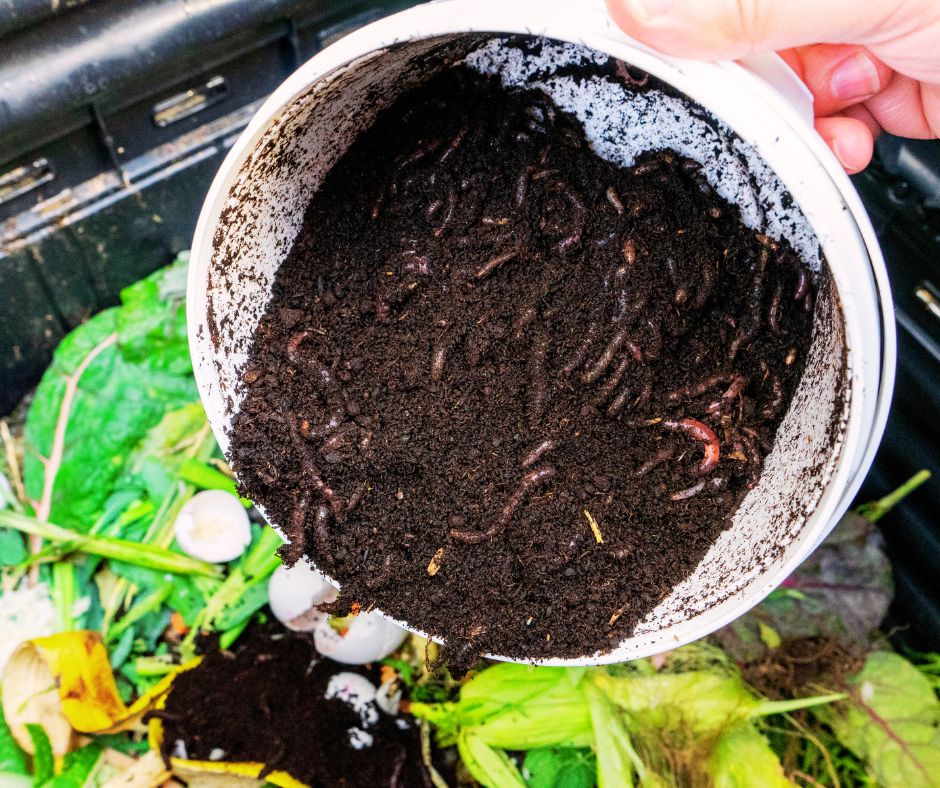
If you’re looking for an efficient and indoor-friendly method for turning organic waste into nutrient-rich compost, worm composting, or vermicomposting, is your answer. It involves the use of two plastic bins, with the taller bin nested inside the shorter one. Holes are drilled into worm bin for aeration, and vinyl screening is added to prevent worms from escaping.
The worm composting process involves the following steps:
Worm composting process involves the following steps:
- Prepare the composting medium by mixing shredded paper, soil, and water until damp.
- Add red wriggler worms to the composting bin to start the process.
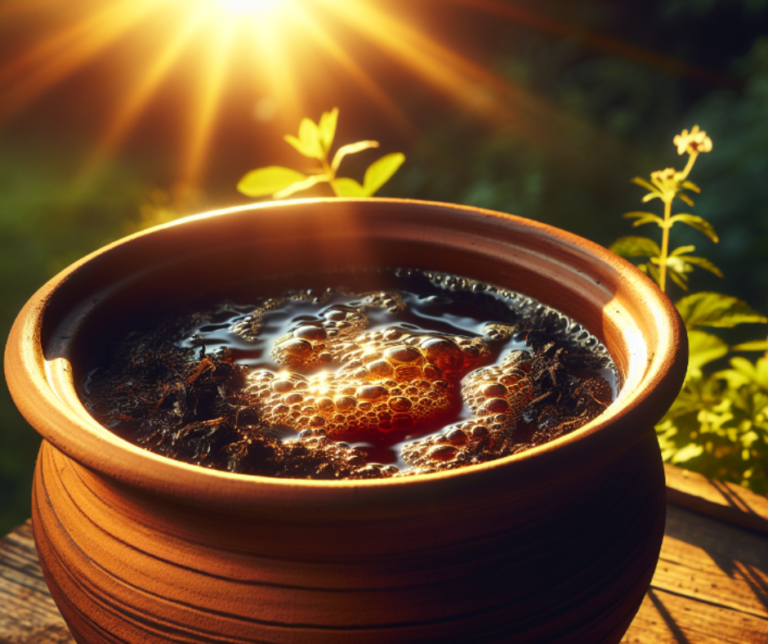
- Regularly maintain the compost by harvesting ‘worm tea’, a natural fertilizer, and removing compost once the bin becomes full.
By following these steps, you can successfully compost with worms and create nutrient-rich compost moist, healthy soil, for your plants.
This method is particularly suitable for indoor environments and can be a fun project for kids as well!
Troubleshooting Common Composting Challenges
Even with the best efforts, composting can sometimes present challenges such as unpleasant odors and pest control. These challenges, however, can be easily tackled with a few adjustments and some good practices.
Managing Unwanted Smells
While compost should ideally have an earthy smell, foul odors can point to issues such as incomplete composting or the pile being too wet. To neutralize odors, you can add more ‘browns’ such as dried leaves or wood shavings, to adjust the carbon to nitrogen ratio or use agents like lime or calcium to balance acidity.
If your compost appears slimy, it’s likely too wet and emitting a bad smell. In such cases, adding ground lime or wood ash can neutralize excess acidity, helping to reduce unwanted odors. With these tips, managing smells in your compost should be a breeze!
Keeping Pests at Bay
One common concern with composting is attracting pests. The right kind of compost bin is crucial for keeping pests away from the active composting pile. Enclosed bins with secure lids and solid bottoms, tumbler bins elevated on supports, and wood bins with mesh wire sides are effective at attract pests and deterring pest access.
To prevent pests such as rodents and insects, it’s recommended to avoid adding the following to the compost:
- Meat
- Fish
- Bones
- Dairy
- Grease
- Oily or seasoned foods
Also, covering new additions to compost piles with a layer of browns like leaves or straw can deter pests. Implementing these strategies, you can keep your compost pile pest-free and productive.
Utilizing Your Finished Compost
Having carefully followed the composting process, you now have a pile of finished, compostable materials at your disposal.
But what’s the best way to use it? Here are some suggestions:
From Compost to Potting Mix
One great way to use your finished compost is to convert it into a DIY potting mix. Simply sift the compost to remove large debris and mix in equal parts with vermiculite and topsoil. This top potting soil mix made with compost improves moisture retention, soil structure, and provides essential nutrients for potted plants.
It’s an excellent way to get weed seeds and give your potted plants a nutrient-rich start!
Boosting Garden Beds
Compost can also significantly boost the health and productivity of your garden beds. For new vegetable garden beds, incorporating 3–4 inches of compost can enhance soil quality. Similarly, spreading 3–4 inches of compost over landscape areas before mixing it in aids in preparing the garden soil for planting.
In raised garden beds, the following steps can help improve soil quality and promote optimal plant growth:
- Break up the existing soil.
- Add 2-3 inches of compost before filling the beds.
- When transplanting seedlings, such as tomatoes and cucumbers, add compost to the planting holes to provide them with the necessary nutrients. By following these tips, your garden beds will be thriving in no time!
Summary
In this journey through composting, we’ve explored the process from understanding the basics to utilizing the finished compost. We’ve learned about the significance of green and brown balance, the importance of aeration and moisture control, and the magic of worm composting. We’ve also discussed how to tackle common challenges like managing smells and keeping pests at bay. Composting is not just about creating nutrient-rich soil; it’s about reducing waste, mitigating climate change, and promoting a sustainable ecosystem. So, are you ready to turn your waste into garden gold?
Frequently Asked Questions
